Problem
At General Motors, only three of us knew how to update the design system using Git and Visual Studio Code. As the system grew, weekly updates became overwhelming—and more team members were brought on without the technical knowledge to help. With no one available to train them, progress stalled.
Action
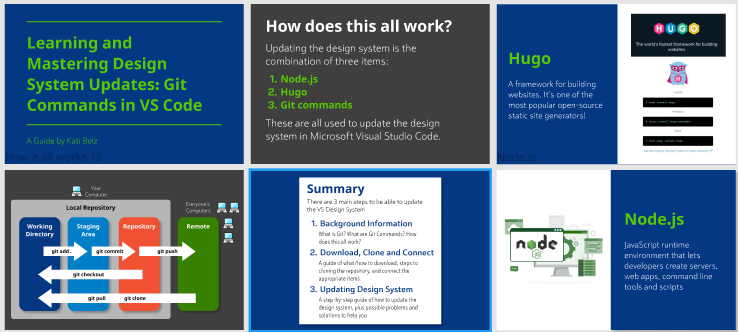
I volunteered to lead a six-part instructional series—drawing on my teaching background—to upskill the team. I proceeded to:
· Plan and lead structured weekly sessions, progressing from foundational concepts to hands-on updates.
· Design accessible training slides in Figma, using step-by-step visuals to explain git commands and workflows.
· Create supporting documentation: a quick-start guide, a “common issues” reference, and a terminology sheet for cross-referencing brand terms.
· Use inclusive design practices, including high-contrast visuals and translation-ready files for wider usability.
Result
· Trained 3 additional designers, doubling the number of team members capable of contributing to system updates.
· Workload became manageable, with updates completed more efficiently and accurately.
· My lessons were praised for clarity and accessibility, and the documentation remains a shared team resource.